


Feature
 $0Your sales associate can help you secure your roof for almost nothing out-of-pocket.
Roll On
Roofs$175–$200per LN FT
Roofs$175–$200per LN FT
Rubber
Roofs $190–$300per LN FT
Roofs $190–$300per LN FT
Other Spray-
On Roofs$190–$300per LN FT
On Roofs$190–$300per LN FT
 Maintenance Free
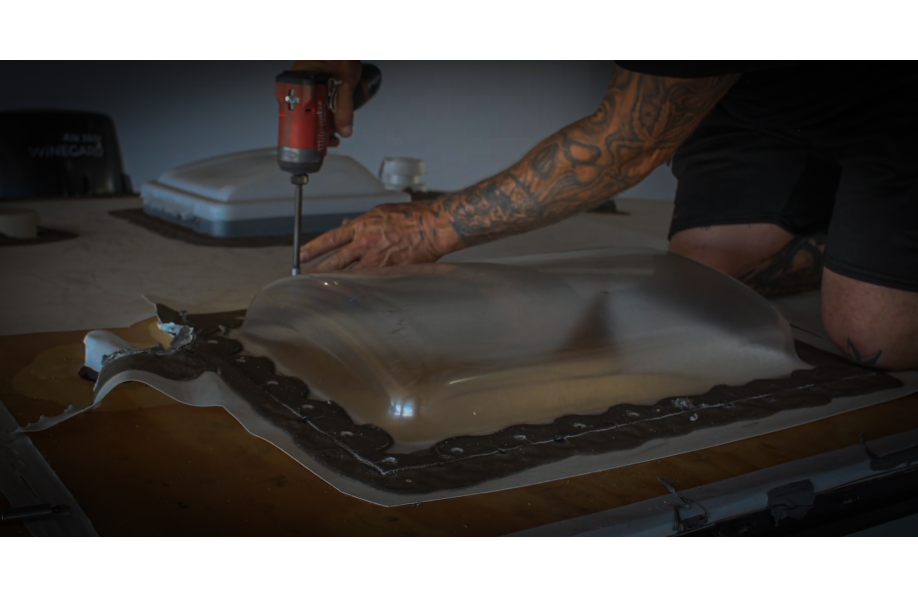
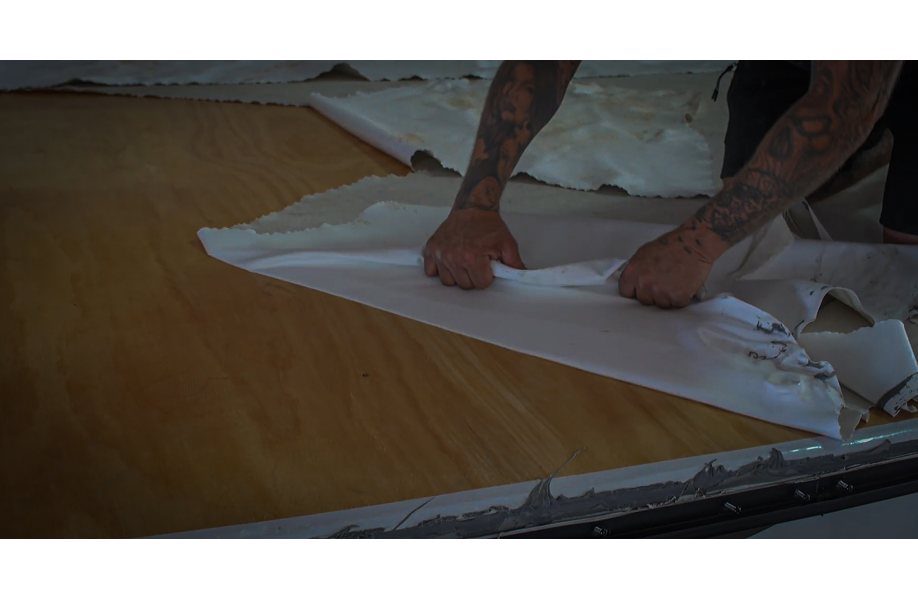
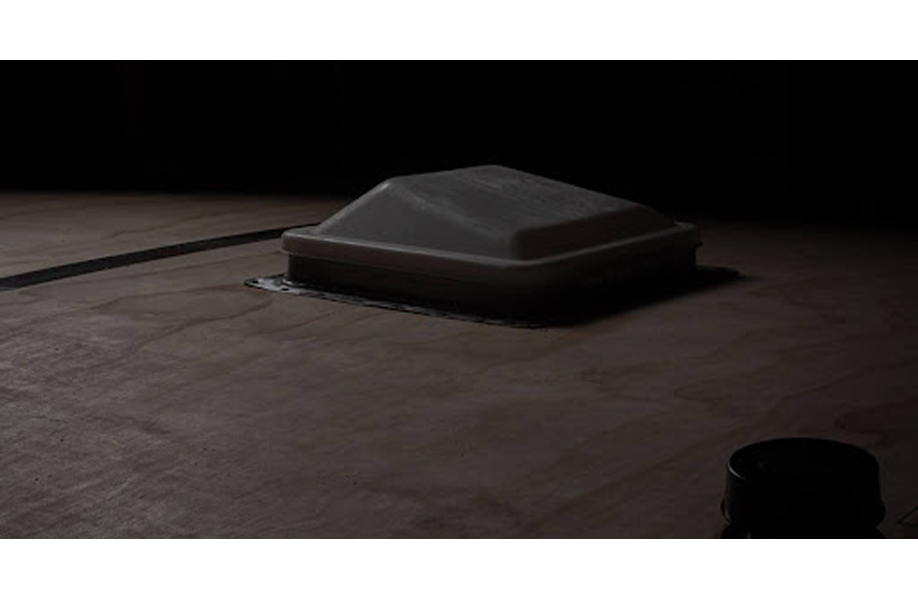
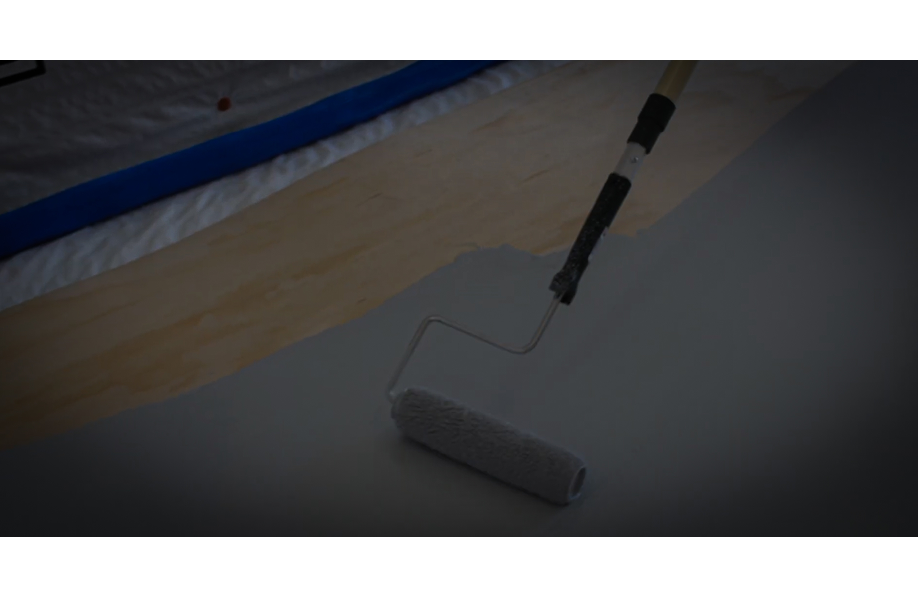
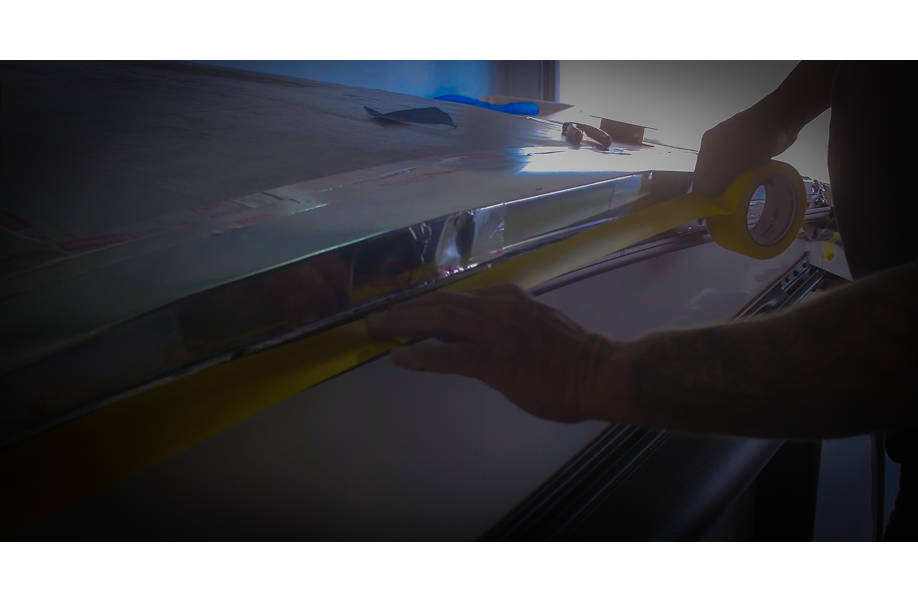
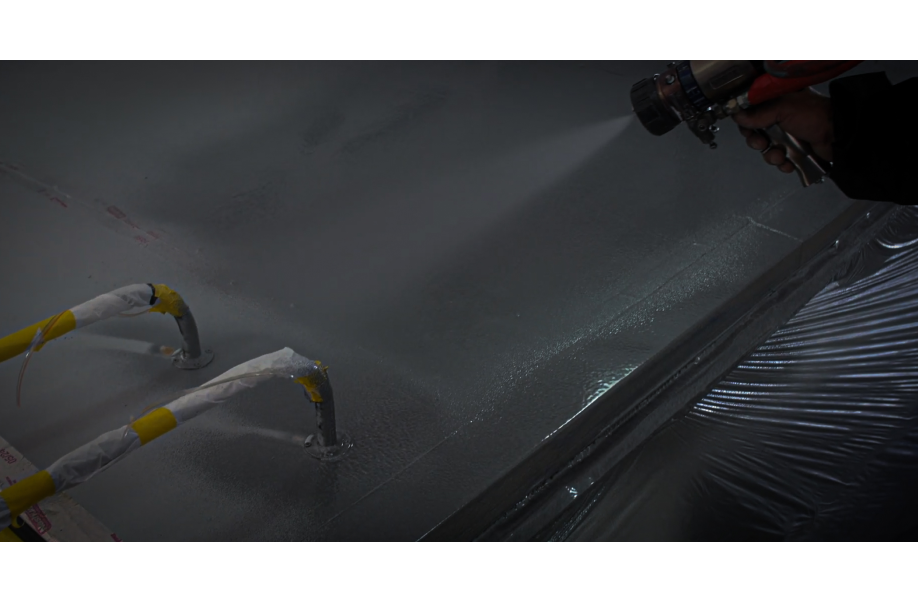
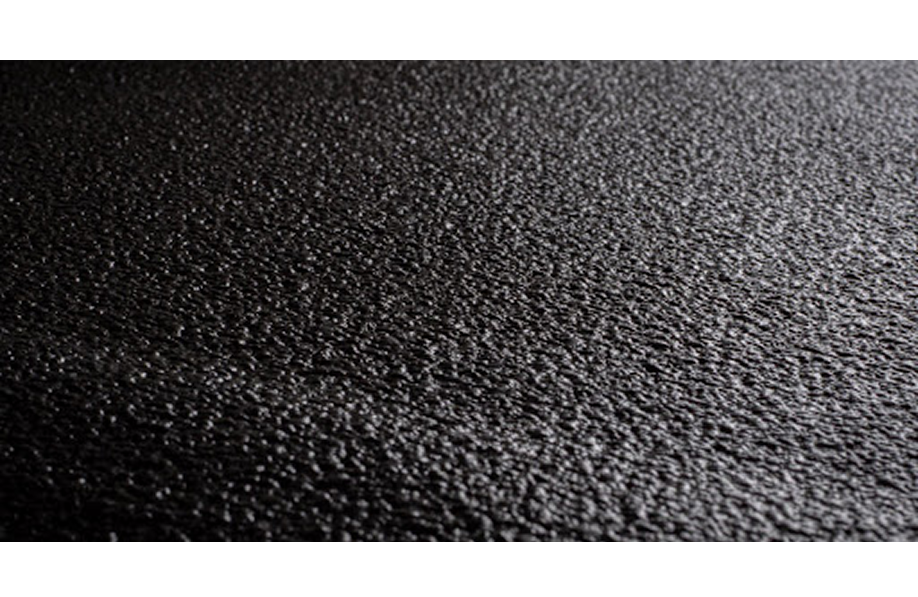
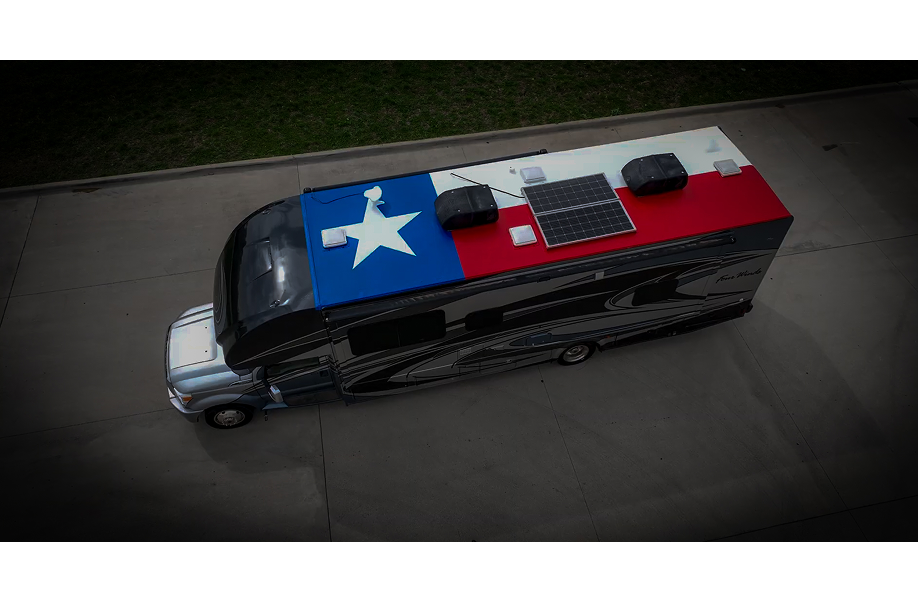
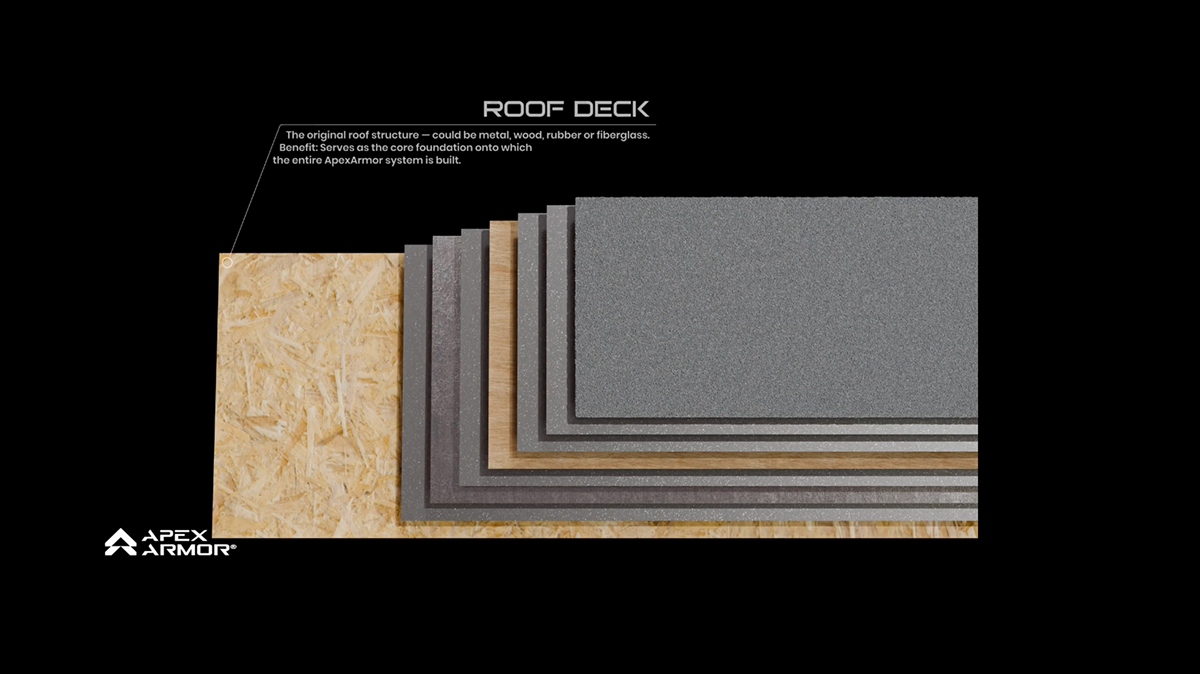
 Up to 20% Heat Rejection Ability to Spray Slideouts with Polyurea Rubber Completely Removed and Roof Decking Inspected Contingent on installation facility Luan Decking Overlay Installed for Additional Stability Textured Finish for Increased Walkability Highest Quality Polyurea Used on All Layers of Roof Aluminized Hybrid Polyurea for Maximum Heat Rejection Tear Proof Contingent on installation facility and brand Hail Resistant Contingent on installation facility and brand

Lifetime Warranty
Guaranteed durability and transferability increase your RV’s value.

Permanent
Leak-proof for life. This is the last roof your RV will need.

Maintenance Free
No more roof seals ever again, which means no more messy caulking.

Stronger
Designed to last a lifetime and won’t bubble, crack or puncture.

Watertight
100% seamless coating that forms a watertight seal around any gaps, protrusions, and bolts.

Paintable
Fully paintable and can be painted to match the exterior color of your unit.

Saves Money
Reduces your insurance premium. Saves approximately $500 a year in roof sealant removal and replacement costs.

Insulated
Superior UV protection engineered to reduce heat absorption by up to 20%. Keeps you and your crew cooler.