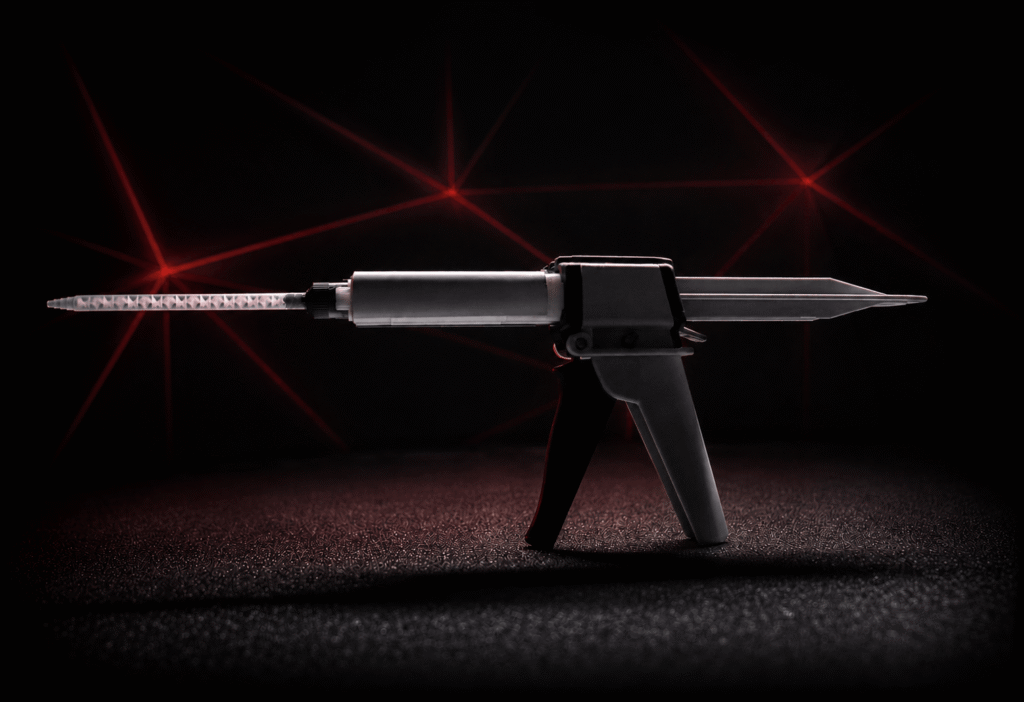
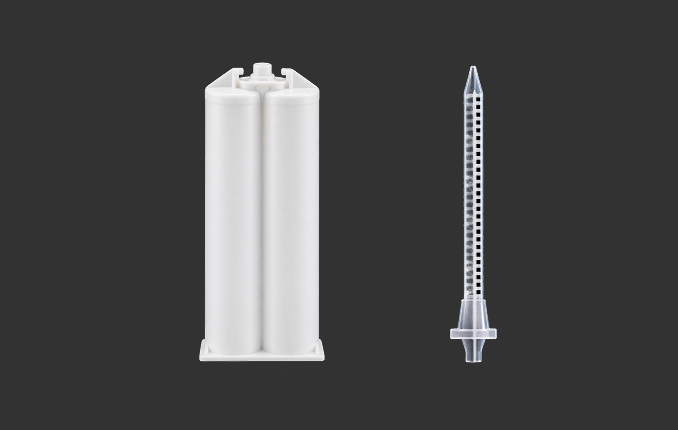
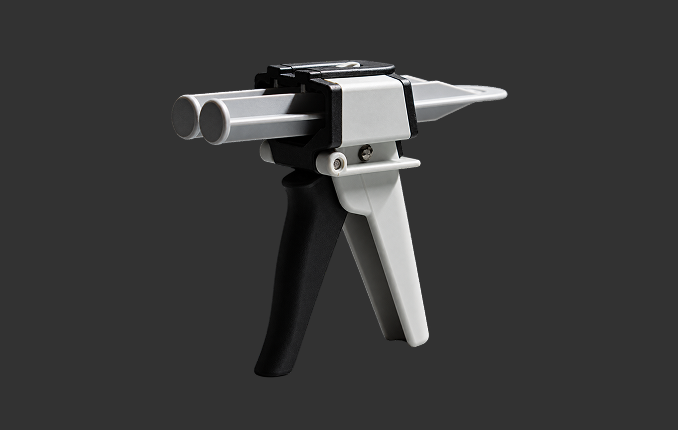
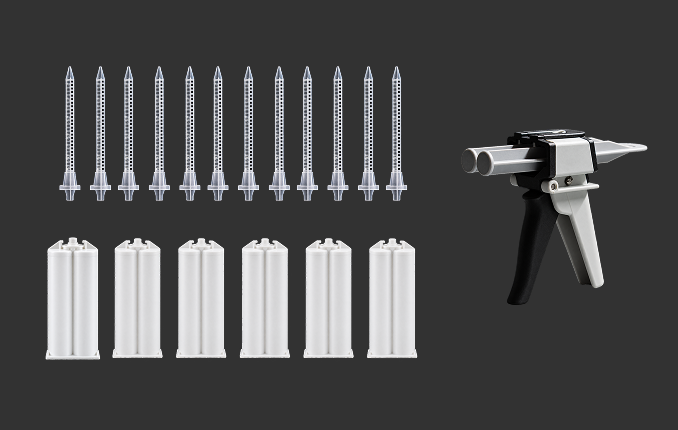
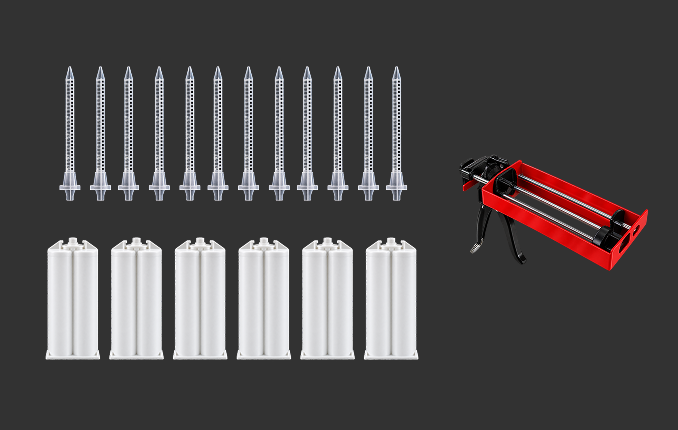
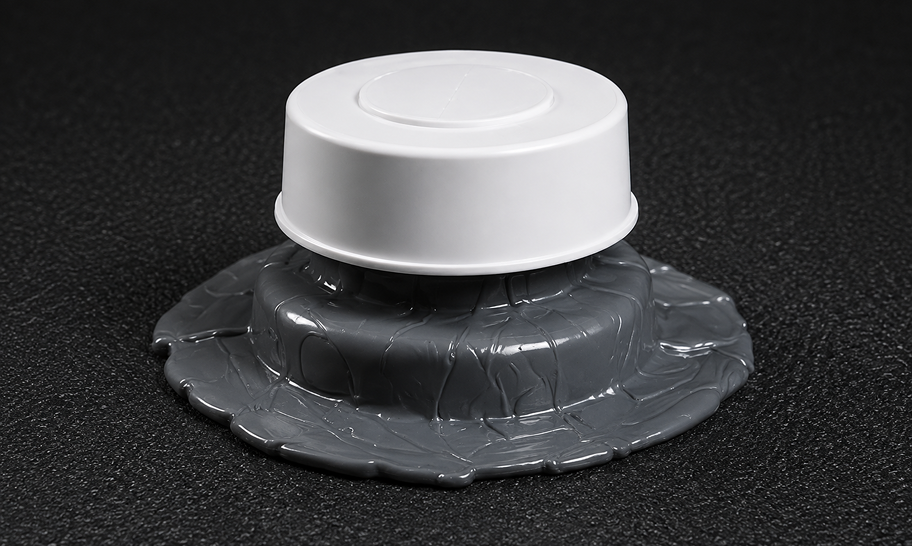
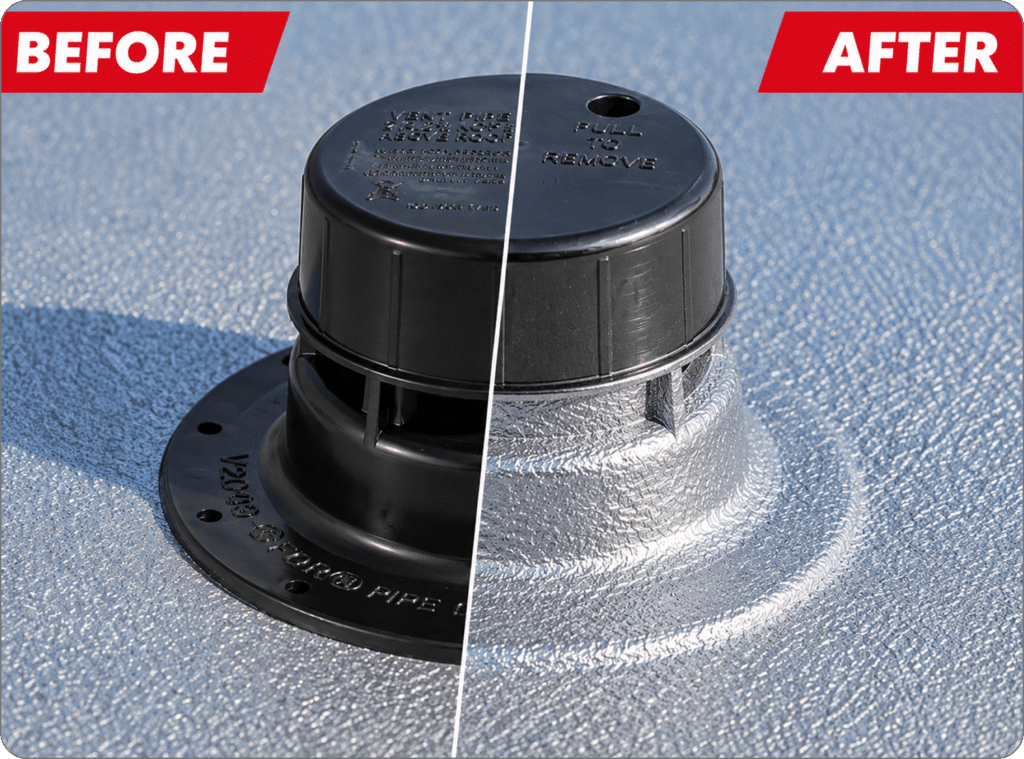
The ApexArmor Repair Kit delivers professional-grade roof repairs in a compact kit—so you can seal, protect, and keep moving. Fast, reliable resealing built with the same trusted material technology as full roof installations.
Watch our step-by-step guide and see how easy it is to get a professional-grade repair on the road.
What Is ApexArmor QuickSeal?
ApexArmor QuickSeal is a professional-grade cartridge repair and reseal kit designed to help customers and service providers reseal localized ApexArmor areas after roof component service, repair, or replacement.
Utilizing the same trusted material technology as full ApexArmor roof installations, QuickSeal provides a fast, professional-grade solution to maintain seamless protection.
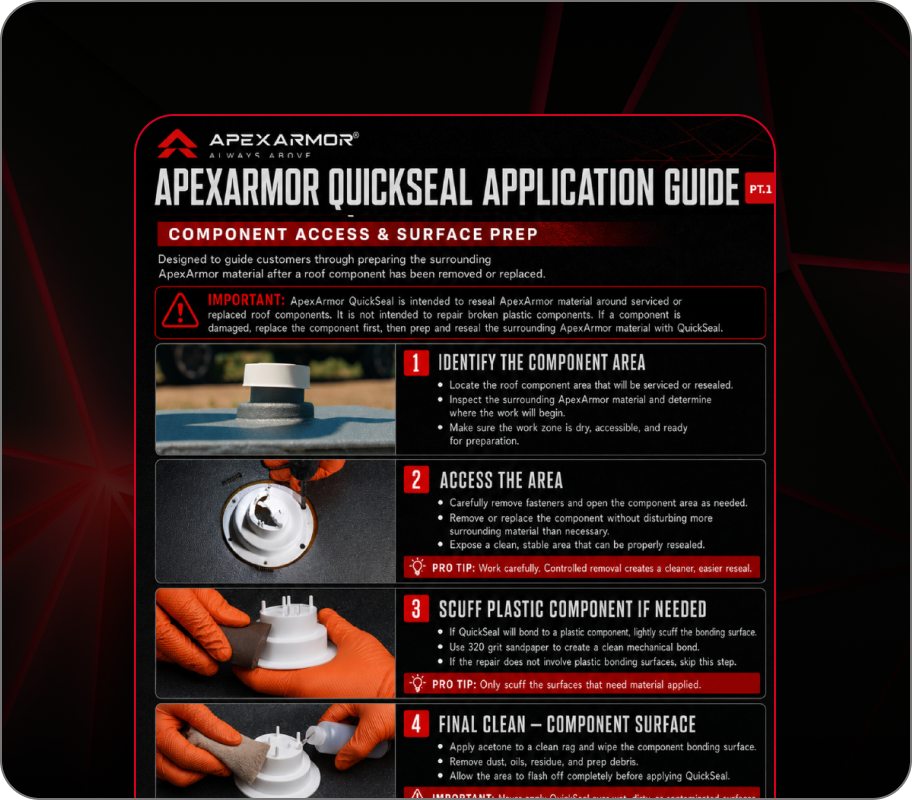
Important Note: ApexArmor QuickSeal is intended to reseal ApexArmor material around serviced or replaced roof components. It is not intended to repair broken plastic components themselves. If a component is damaged, the component should be replaced first, then the surrounding ApexArmor area can be prepped and resealed with QuickSeal.
REPAIR ANYWHERE. KEEP ADVENTURING.
Roof damage doesn’t wait—and neither should you. ApexArmor Repair Kit is designed for real-world repairs so you can seal leaks, protect your roof, and stay on the road.
In the Wild
No service center? No problem.
On the Road
Fix small issues before they become big repairs.
At the Campground
Quick repairs mean more time to relax.
Systems Protection
Seal and protect to get more miles out of your roof.
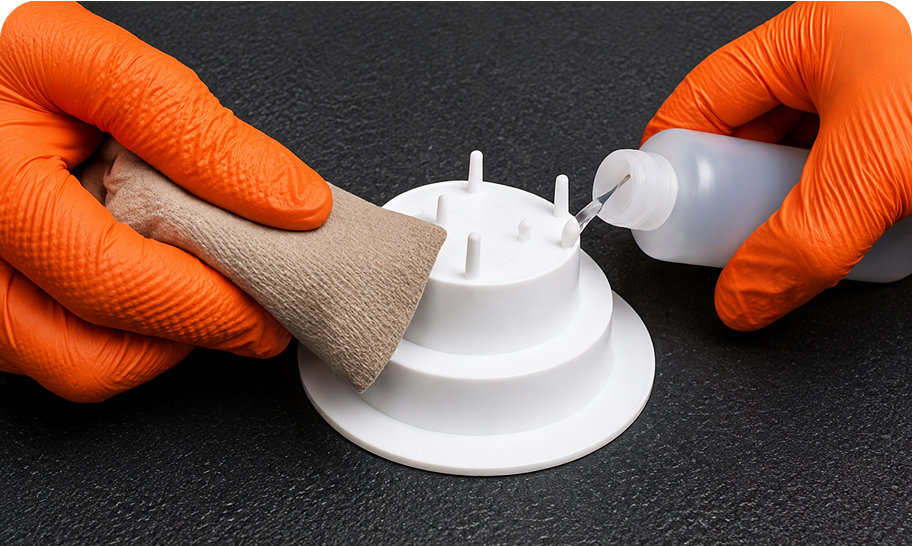
Carefully access or replace the roof component, then scuff any plastic bonding surfaces with 320-grit sandpaper. Wipe the component and surrounding ApexArmor material with acetone to remove all dust, oils, and debris for a strong bond.
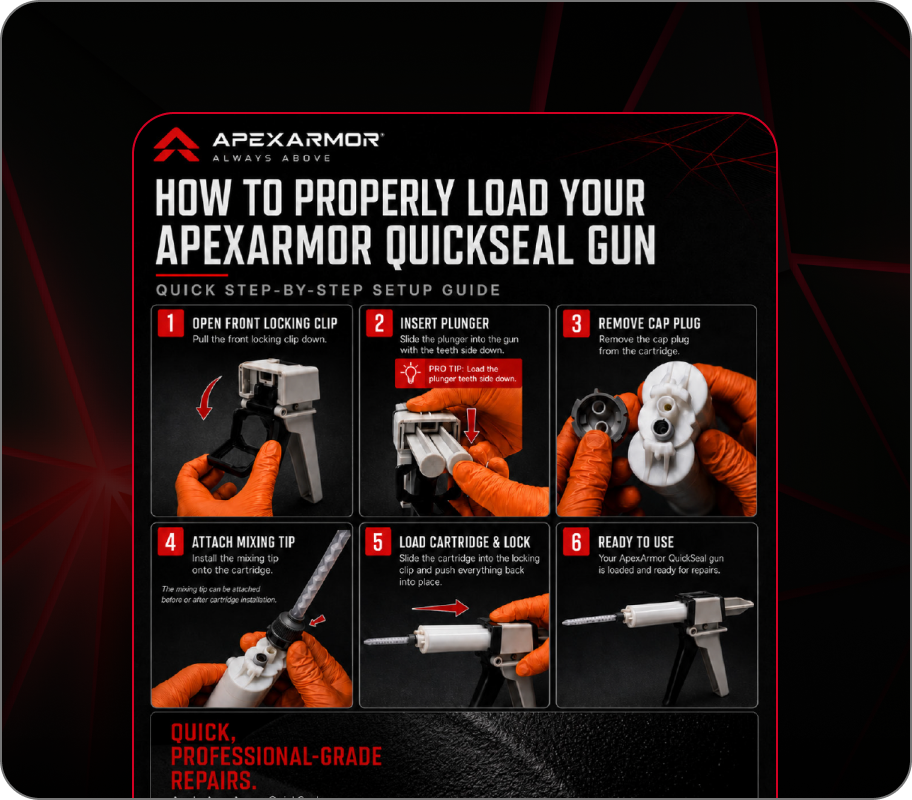
Load & Prep the Gun
02
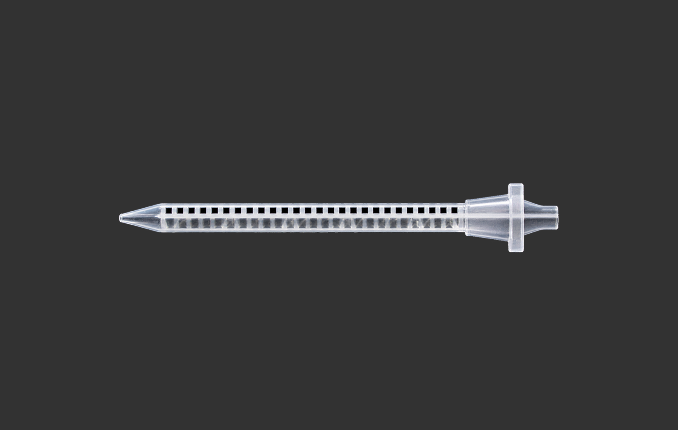
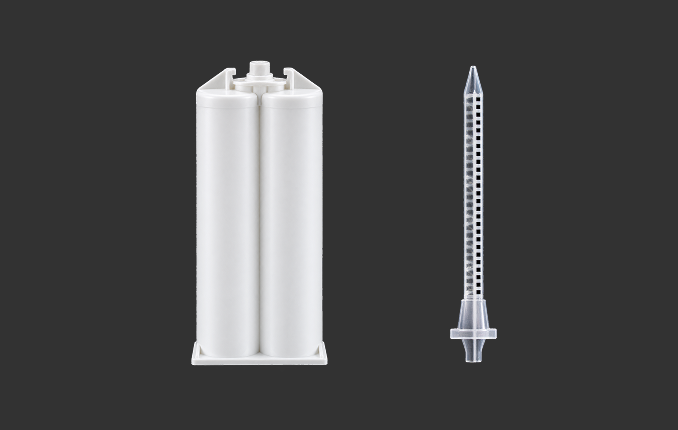
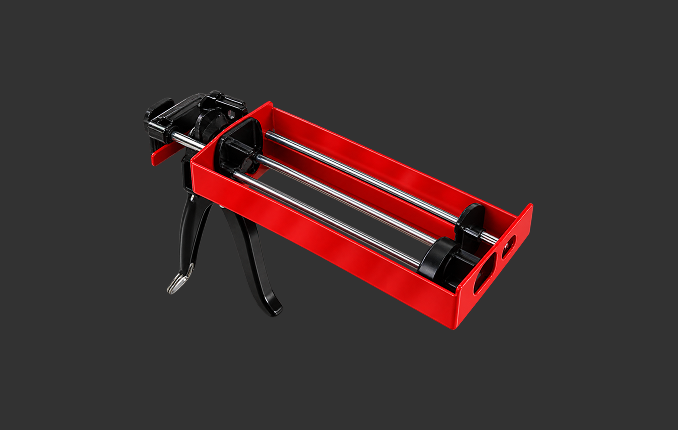
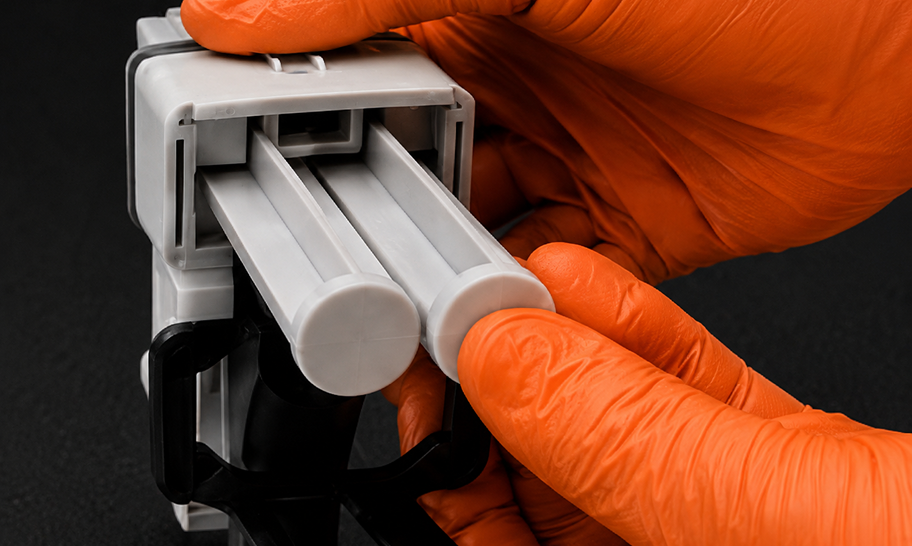
Slide the plunger teeth-side down into the gun, remove the cap plug, attach the mixing nozzle, and lock the cartridge in place. Ensure the repair area is fully prepped before dispensing, as the material begins chemically curing as soon as it is mixed.
Apply QuickSeal
03
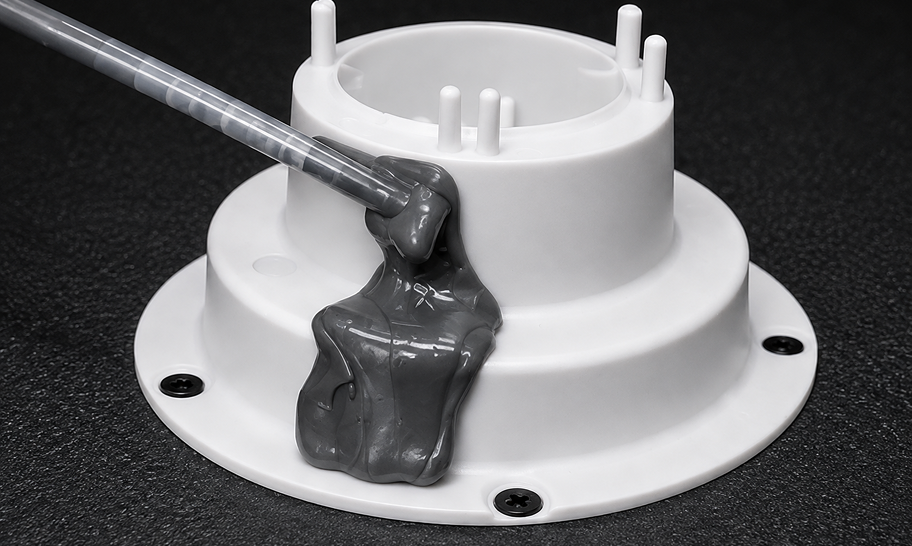
Apply QuickSeal directly to the prepared reseal area using controlled pressure. Build full coverage around the component base, exposed edges, transitions, and seams.
Smooth & Finish
04
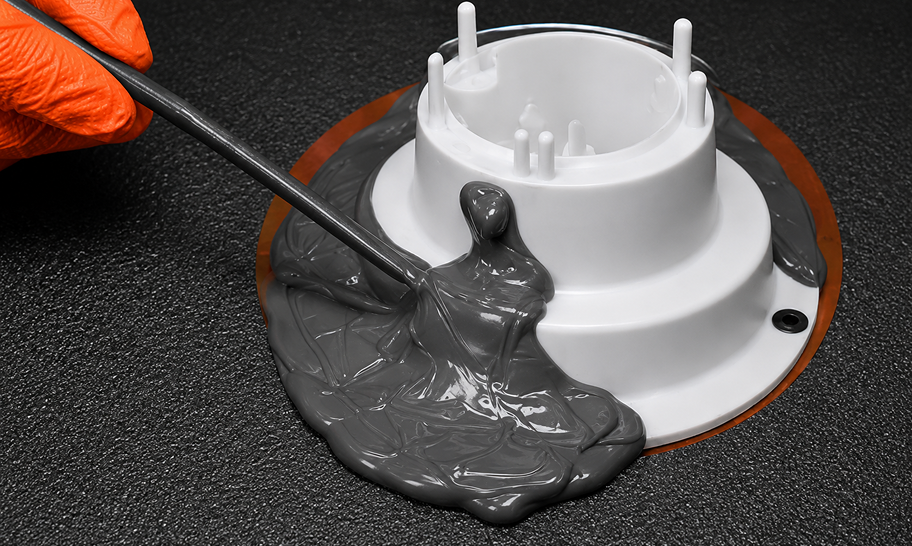
Use the spreader tool to shape and smooth the material before it cures. Ensure the sealant makes full contact with all prepared surfaces to form a clean, seamless, and watertight seal.
Cure & Protect
05
Allow the material to cure. Powered by the same trusted material technology as full ApexArmor installations, the professional-grade seal sets rapidly and is rain-ready within minutes.
Real repairs. Real protection.
FAST AND EASY APPLICATION
DURABLE PROTECTION
ALL WEATHER PERFORMANCE
Instruction Guides
Download or view our detailed documentation for gun setup and full application procedures.